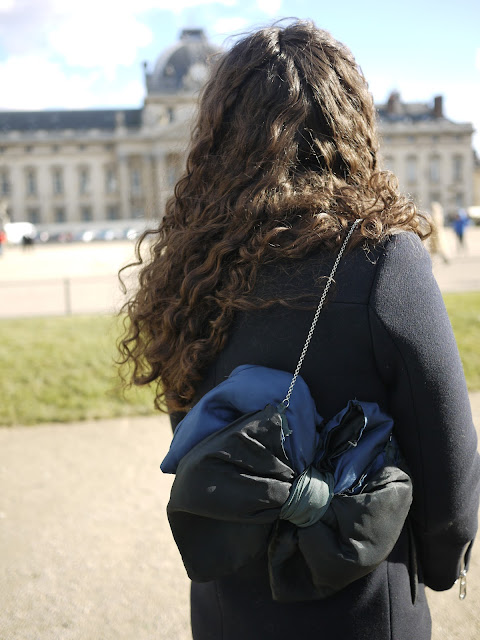
Je n'ai pas de tuto détaillé car j'ai réalisé ce sac il y a longtemps, avant d'avoir mon blog en fait... mais je vais tenter une explication... n'hésitez pas si vous voulez plus de précisions.
Il suffit de coudre 2 rectangles, un plus grand que l'autre. Par contre il ne faut pas les coudre sur le côté du dessus, car c'est ce qui servira d'ouverture au sac. Je les ai un peu molletonné pour créer cette aspect un peu bombé. Un autre rectangle (le gris sur la photo) servira d'assembler les 2 rectangles (le bleu et le noir) et en le serrant bien (j'ai fait plusieurs tours) cela créera un effet "noeud". Ensuite j'ai cousu une chaîne et attrapant bien les 2 rectangles pour ne pas créer un déséquilibre. j'espère que je suis assez claire...
I don't have a detailed tutorial for this purse that I made a long time ago before having my blog actually...But I will try to explain it.. Don't hesitate if you need more infos.
You need to sew 2 rectangles, one bigger than the other. But don't sew the side on the top, because that's the side which will be the opening of the purse. I quilted it to create this puffy effect. Another rectangle not quilted (the grey on the pic) will be needed to assemble the 2 others rectangles (the blue and the black one). You need to tight it strongly (i have made several turns) because this will made the "Bow effect".
Thenk sew a thin chain by sewing too the 2 big rectangles so that the purse will not be unstable.
I hope I am clear enough...
|


Aucun commentaire:
Enregistrer un commentaire